1 Interaction, Avatars & Obstacles
Introduction
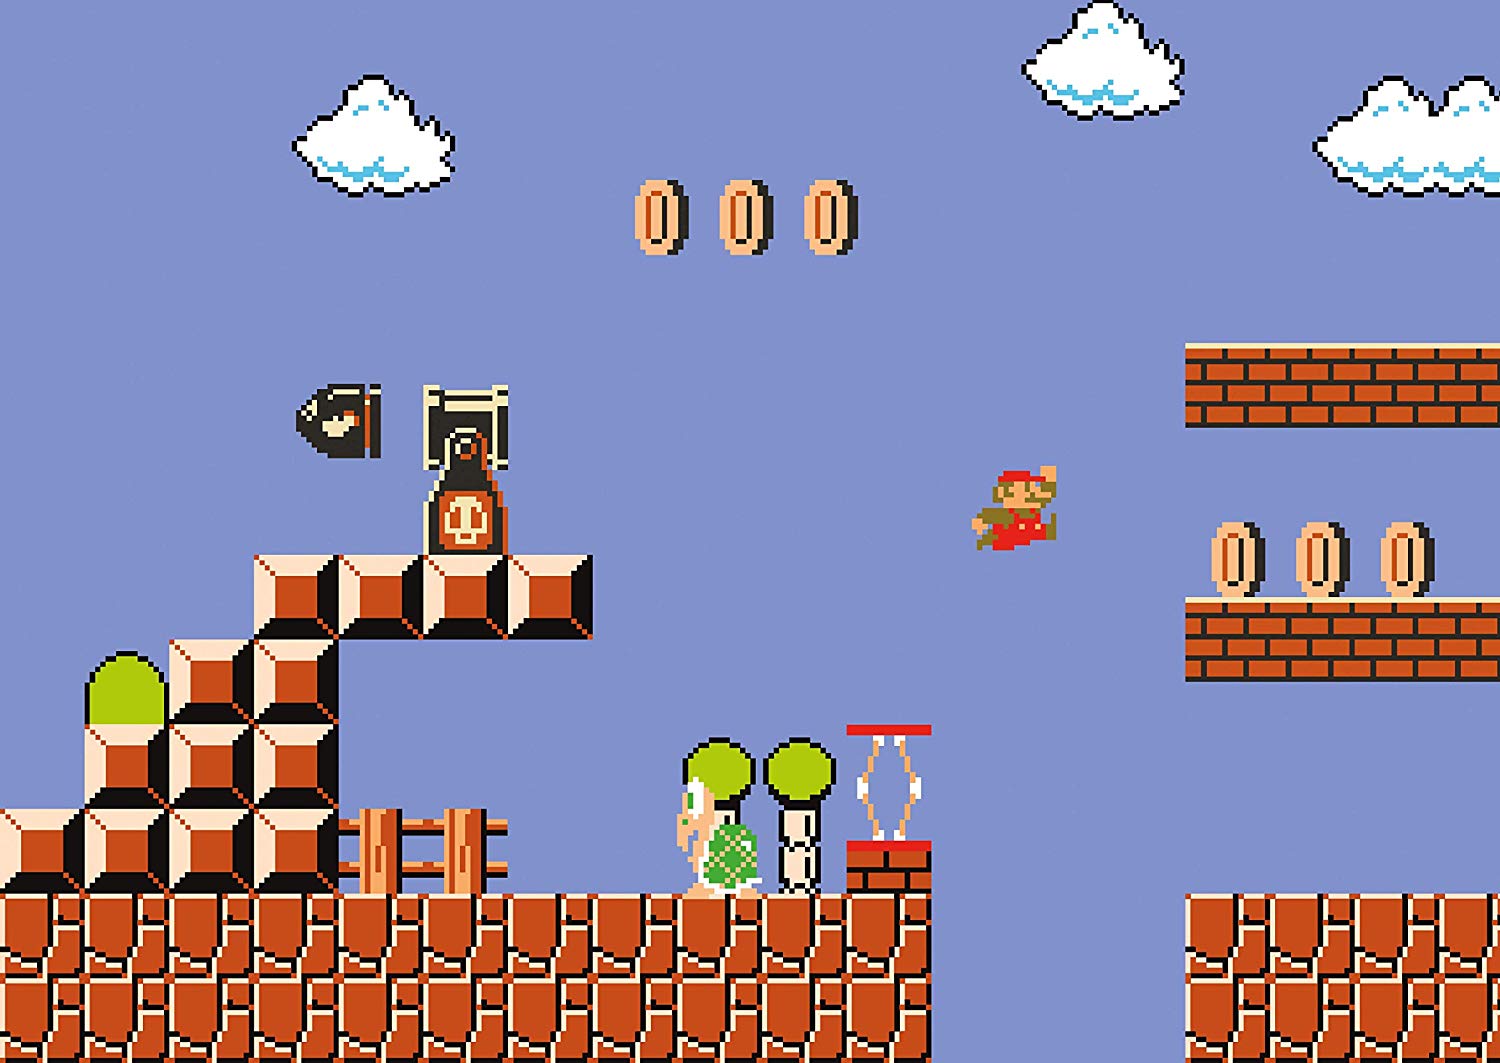
Topic of this semester will be Arceade Games. While learning about how to create games, we will learn about the basic concepts of programming.
A collection of arcade games can be found here: Arcade Games.
In this first session we will learn how to create interactive sketches using p5.js. We will also learn how to create avatars and obstacles for our games.
Introduction and framework
Programming with p5.js
p5.js is a JavaScript library and a modern interpretation of Processing, allowing for creative coding in the web browser without requiring any plugins or installations. P5.js was designed to make coding accessible to artists, designers, educators, and beginners by providing a simple syntax for creating interactive graphics, animations, and multimedia experiences directly in web pages. p5.js is widely used for teaching programming fundamentals, creating generative art, data visualizations, interactive installations, and web-based games, with the added benefit of easy sharing since projects run in any web browser. The community has contributed numerous libraries for sound, computer vision, machine learning, and physical computing. It is a useful platform for creative coding projects.
More information on the language p5.js: Link
The p5.js reference: Link
We use the online editor for convenience: Link
Collection of sketches
The collection of sketches for this course: Link
Basic P5
Basic anatomy of a P5 sketch
The basic anatomy of a p5.js sketch consists of two main functions that form the foundation of every program:
setup() - This function runs once when the sketch starts. It's used for initialization tasks like creating the canvas with createCanvas(), setting initial colors, loading images or fonts, and defining starting values for variables. Everything you want to happen only once at the beginning goes here.
draw() - This function runs continuously in a loop (default 60 times per second). It's where you put code for animations, interactions, and anything that changes over time. The draw loop continues running until you explicitly stop it with noLoop() or close the sketch.
function setup(){

}

function draw(){

}
Basic drawing functions
function setup(){
  createCanvas(600, 400);
  background(255);
  fill(0);
}

function draw(){
    ellipse(300,200,10,10);
}
Variables
A variable is an abstract container for a value that is used in the program flow. A variable is designated by a name. The value assigned to a variable can change during the program run.
A variable may only be declared once, but its value may change (e.g. radius = radius +6). Variable names must not be reserved expressions (null, true, false, etc..), or already used by processing (e.g. mouseX). It is highly recommended to assign variable names that say something about the use of the variable (radius, width, ...). Variables are only valid for a certain part of the program, depending on where they are declared. We declare our variables at the beginning of the program (before stetup()) and will come back to this later when we use variables that are not valid everywhere.
Besides the variables that we define in the code, Processing automatically provides us with some variables that contain information about our sketch:
width contains the width of the drawing window
height the height of the drawing window
frameCount the number of the current frame since program start
mouseX, mouseY the current mouse coordinates
Conditionals
Programs are usually not an exclusively linear sequence of instructions to the computer. Besides loops they contain branches, which are coupled to certain conditions: If a key is pressed... then the music starts. If the measured temperature of an Arduino sensor drops... then start PIN 3 If the number of created circles is over 500... then stop the generative graphics.
Instead of the german "wenn...dann" the English expression "if...then" is used. A query by if...then allows to create branches in the program and to execute or not execute certain parts of the code.
if(condition){
  commands
  ...
}else{
  commands
  ...
}
Conditions can be combined by logical operators (see example-code above). The operators are as follows:
'&&' AND
'!' NOT
'||' OR
Example: Simple Breakout Game showing conditionals etc.
// Simple paddle game (like Pong/Breakout)

// Ball variables
let xPos = 200;                     // Ball X position
let yPos = 200;                     // Ball Y position
let durchmesser = 10;               // Ball diameter
let speedX = 8;                     // Ball horizontal speed
let speedY = 6;                     // Ball vertical speed

// Paddle variables (Balken = beam/paddle in German)
let xBalken = 200;                  // Paddle X position
let yBalken = 400-20;               // Paddle Y position (20px from bottom)
let BalkenBreite = 80;              // Paddle width

function setup() {
  createCanvas(400, 400);
}

function draw() {
  background(220);
  circle(xPos,yPos,durchmesser);    // Draw ball

  xBalken = mouseX;                 // Paddle follows mouse X

  // Ball bounces off left/right walls
  if(xPos > width-durchmesser/2 || xPos < 0-durchmesser/2){
    speedX = -speedX;               // Reverse horizontal direction
  }

  // Ball bounces off top wall (bottom is commented out)
  if(/*yPos > height-durchmesser/2 ||*/ yPos < 0-durchmesser/2){
    speedY = -speedY;               // Reverse vertical direction
  }

  // Old collision code (commented out)
  /*if(xPos > xBalken-wBalken/2 && xPos yBalken-durchmesser/2){
      speedY = -speedY;
    }
  }*/

  // Paddle collision detection
  let BalkenRechterRand = xBalken+BalkenBreite/2;  // Right edge of paddle
  let BalkenLinkerRand = xBalken-BalkenBreite/2;   // Left edge of paddle

  // Check if ball X is within paddle bounds
  if(xPos < BalkenRechterRand && xPos > BalkenLinkerRand){
    // Check if ball Y hits paddle (8px buffer zone)
    if(yPos > yBalken-8-durchmesser/2){
      speedY = -speedY;             // Bounce ball upward
    }
  }

  // Update ball position
  xPos = xPos + speedX;
  yPos = yPos + speedY;

  // Draw paddle
  rectMode(CENTER);                 // Draw from center point
  rect(xBalken, yBalken,BalkenBreite,16);  // 16px tall paddle
}


// ODER (OR) ||
// UND (AND) &&
Iterations
Iterations are used to repeat a certain task a certain number of times. For example, if we want to draw a circle 10 times, we can use a for loop.
for(var i = 0; i < 10; i++){
  ellipse(i*10, 100, 10, 10);
}
Assignment
Can you expand our little snake game in a way that the snake comes back on the opposite side of the screen when it leaves the screen?
You can use if…then to test for its coordinates and to reposition it.
Functions
We have already used some functions for our previous programs:
setup() - is executed once at the beginning of the program
draw() - is automatically executed by the Sketch as a loop
mousePressed() - executed once when the left mouse button is pressed
keyPressed() - is executed once when a key on the keyboard is pressed
Beside the functions, which are already available through processing, you can write your own functions to structure programs. Conveniently, we write a function for certain tasks that should be done in the code. This method is especially suitable for tasks that should be executed again and again. This makes the code clearer and you save the task of writing the same lines of code over and over again.
  function drawAvatar(x, y, direction) {
    fill(240, 240, 0);
    noStroke();
    if (openMouth == true){
      openAngle = 1;
    }else{
      openAngle = 0.1;
    }
    ellipse(x, y, diameter, diameter);
    fill(0);
    if (direction == "right") {
      arc(x, y, diameter + 1, diameter + 1, -openAngle, openAngle, PIE);
    } else if (direction == "left") {
      arc(x, y, diameter + 1, diameter + 1, -openAngle-PI, openAngle-PI, PIE);
    }else if (direction == "up") {
      arc(x, y, diameter + 1, diameter + 1, -openAngle-PI/2, openAngle-PI/2, PIE);
    }else if (direction == "down") {
      arc(x, y, diameter + 1, diameter + 1, -openAngle+PI/2, openAngle+PI/2, PIE);
    }
}
Common Interfaces
Keyboard
The keyboard is often the favourite controller of first person game players. But we can use the classic "WASD" keyboard controls also to control a simple Pac Man:
function setup(){
  // here goes your code
}

function draw(){
  // here goes your code
}

function keyPressed() {
  if (key == "a") {
    console.log("left");
  }
  if (key == "s") {
  console.log("right");
  }
}
Mouse
function setup() {
  createCanvas(600,400);
  background(255);
}

function draw() {
  ellipse(mouseX, mouseY, 10, 10);
}
Assignment
In the original game hall version of Pong, two potentiometers were used to controll the "Avatars". Can you make a simple white bar on a black ground that is moved by the mouse like in Pong?
Game Pads
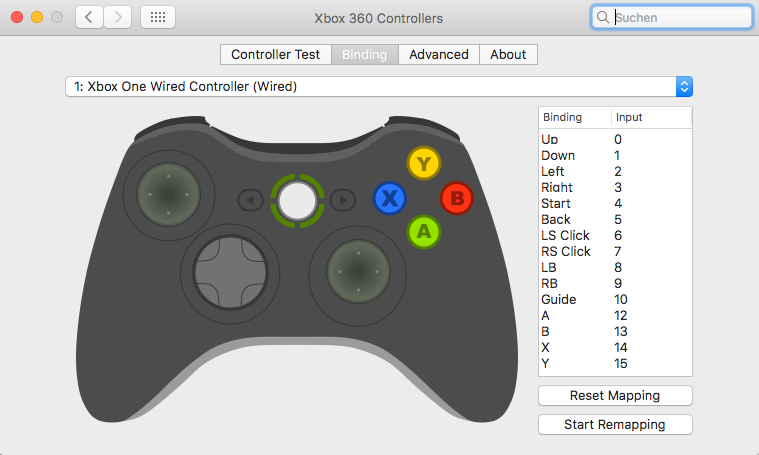
Driver to map buttons of the XBox controller in OSX
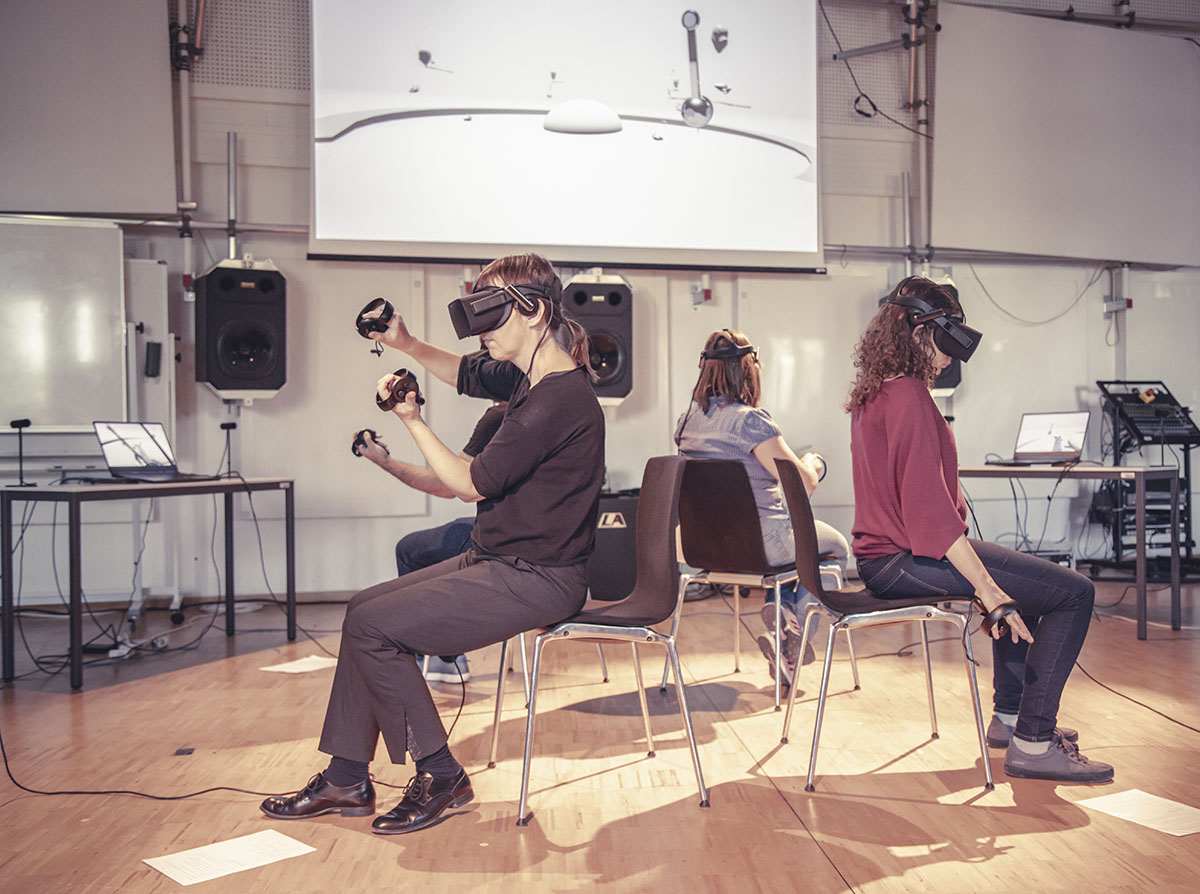
Coretet by Rob Hamilton at the IEM Graz
Game-Pads
Code